
In today’s fast-paced world, we all look for ways to simplify our work. Whenever a tool comes along that eases routine tasks and frees up time for strategy and growth, it’s worth grabbing.
That’s exactly what this article is about: how to quickly set up a WordPress website to start your traffic business with minimal effort. Less hassle, more results. Let’s dive in.
What Is WordPress?
WordPress is a powerful, flexible platform that lets anyone create websites, blogs, or online businesses without coding from scratch. Its biggest strength is being an all-in-one solution: with thousands of plugins, it can handle almost any task—from design and layout to coding and analytics. You bring the vision, and WordPress gives you the tools to make it real.
Another advantage is its flexibility in pricing. WordPress offers both free and paid themes and plugins depending on your needs, but the free versions are more than enough to launch and run a business. In this guide, we’ll walk you through the process step by step—from choosing a theme to adding plugins and creating content.
Starting Out
The first step should always be research. Before you get started, get to know your target audience: location, gender, age, preferences, and even cultural or traditional values.
For example, if you want to create a website about weight loss (to promote nutra offers) targeting Mexico, start by understanding who would be interested in this topic, what content they respond to, and which messages will resonate most.
In this case, your audience would likely be women interested in a healthy lifestyle, looking to lose weight and improve their overall well-being. Digging deeper, you’ll notice that since Mexico’s average income is relatively low, it makes sense to focus on affordable solutions, like adapting popular dishes—especially since food is a central part of Mexican culture.
Don’t overlook tools like Google Trends and Statista, which can show what women commonly search for online about this topic. This research will help you plan the content you need to post. Once that’s done, the next step is choosing a domain for your website.

Choosing & Connecting Your Domain
When it comes to choosing a domain for your website, you have two main options.
The first is to register a brand-new domain. The advantage is that you can get the exact name you want and avoid potential issues with spam, banned content, or other illegal history. The drawback is that new domains can be harder to rank on Google search pages and may take longer to appear on Google Discover, as Google tends to treat newly registered domains with caution.
The second option is to purchase an expired domain through a domain auction. These domains have already been indexed, which can help your site get recognized faster. However, you must carefully check that the domain doesn’t carry any legal or reputational “baggage.” There are several tools available to help with this verification.
1. Check domain reputation and history: Wayback Machine, Google search (if there are any negative mentions), Whois history.
2. Check for blacklisting: Google Safe Browsing, Spamhaus, MXToolbox.
3. Check backlinks and SEO history: Ahrefs, SEMrush, Moz.
4. Check content and usage history: Wayback Machine, Archive.today.
Once your domain is ready, it’s time to connect it to WordPress. Follow this link for a step-by-step guide on how to do it.
Configuring a WordPress Website
Let’s get to creating your website. Start with choosing the theme and its basics.
Theme Basics
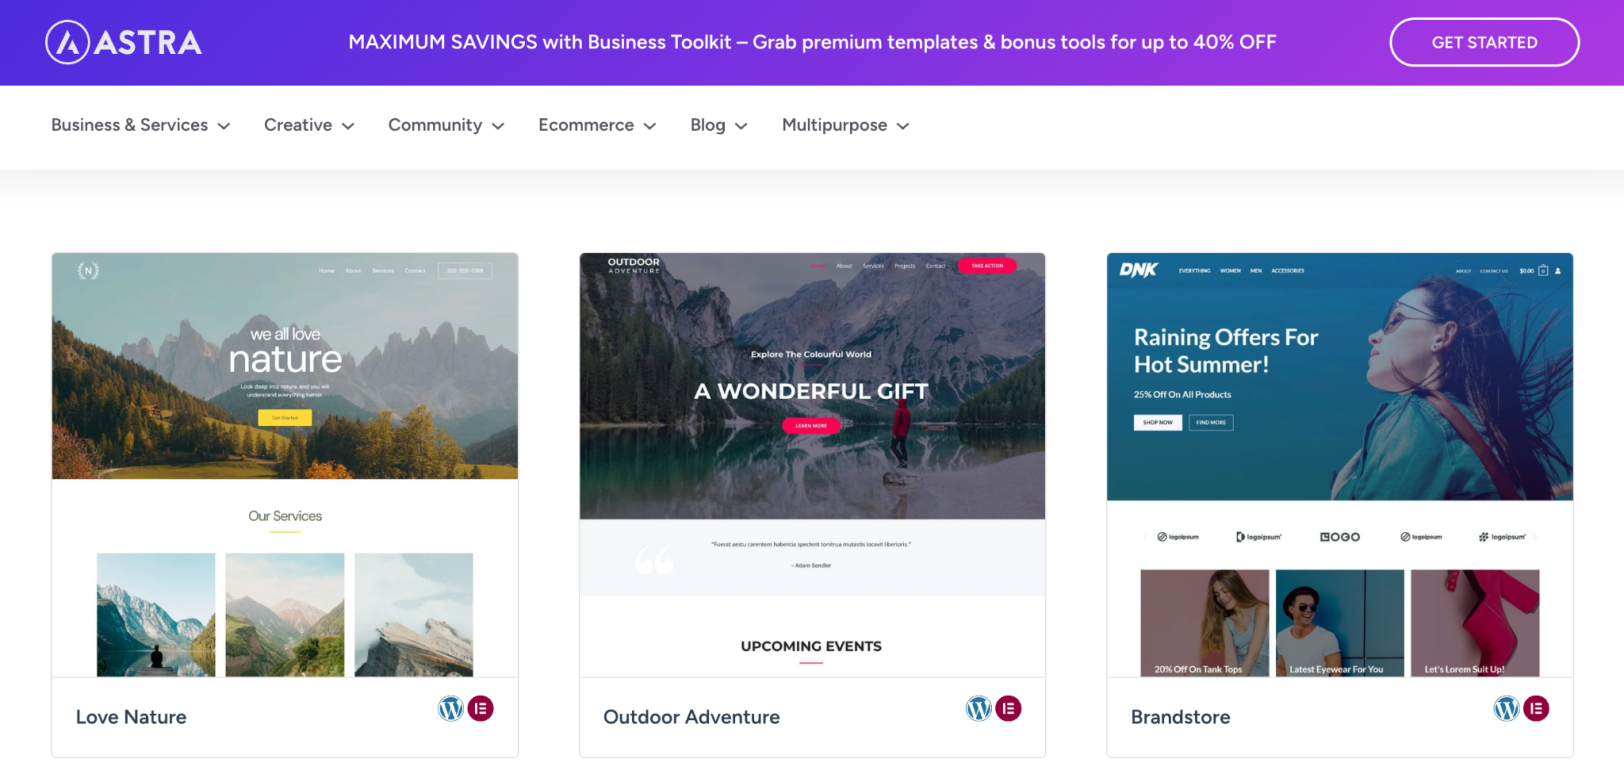
Go for a lightweight theme like Astra, GeneratePress, Kadence, or Blocksy to help your site load faster and run smoothly.
Think of the layout—keep your main content area between 1200–1360px wide, make it responsive (works well on mobile and desktop), and use at least 16px padding around elements.
Use a comfortable font size (16–18px) and line spacing (1.6–1.8) for easy reading. Use local or system fonts if possible. If you use Google Fonts, host them locally and make sure they load smoothly using font-display: swap.
Navigation & Structure
Keep your menu simple: 6–7 items maximum with breadcrumbs at the top of articles so users can navigate easily.
It’s also recommended to use 5–10 main categories and a search bar in the header. Also don’t forget to show “Latest” and “Popular” posts on the homepage.
Header & Footer
Use a logo in SVG or PNG and add a favicon and app icons. When it comes to the Footer section, it should include copyright, navigation links, contacts/socials, and privacy policy.
E-E-A-T Pages
These pages are especially important if you want to get traffic from Google Discover and rank higher in Google Search, so don’t overlook adding them.
- About: real authors with expertise.
- Contact: form + email.
- Policies: Privacy, Cookies (GDPR), Terms.
- Author bios under posts (photo, position, social links).
Single Post Template
Here are some basic recommendations for your posts’ readability, user experience, and SEO:
- Use H1 for the title, H2/H3 for subheadings.
- Show the publish date (and optional “updated” date).
- Include a large cover image ≥1200px.
- Add internal links, blockquotes, tables, or lists where needed.
- Include Related Posts by category or tag.
- Use breadcrumbs for easier navigation.
- FAQ block and table of contents are optional but help improve trust and engagement.
As for the media files, use modern formats like WebP/AVIF, responsive images (srcset & sizes), enable lazy-loading for images and videos, and write meaningful alt texts for them.
Website Performance
Make your website load quickly (under 2.5 seconds) and respond fast (when users click or tap, the site should react almost instantly).
How to achieve that:
- Cache and optimize files. Store parts of your site so returning visitors load it faster, and shrink unnecessary code to make pages lighter.
- Load essential styles first. Show the main part of your page immediately and load other styles or scripts later.
- Remove extra stuff you don’t need. Disable unused plugins, emojis, or embeds that slow down your site.
Here are some tools to check the speed of your website: Google PageSpeed Insights, GTmetrix, Pingdom, and WebPageTest.
SEO & Indexing
Make your website easy to find on Google:
- Use clear URLs. Keep them simple like /category/post-name/ or just /post-name/.
- Add social and search tags. Use canonical tags, Open Graph, and Twitter Cards so your pages display correctly on Google and social media. Also, set max-image-preview: large for better image previews.
- Create a sitemap. Make an XML sitemap and robots.txt file to tell search engines which pages to index and which to ignore (like search or junk pages).
- Use structured data (Schema). Add Organization, Website, Breadcrumbs, and Article markup so Google understands your content better.
- Clean pagination. Make sure multi-page articles have proper page links, avoid infinite scroll without separate URLs.
Legal Matters
Keep your site compliant, show a cookie consent banner (GDPR), and create a page explaining how you store and use data.
Analytics
Tracking your website’s performance is key to growth. Once you connect analytics tools (e.g. Google Analytics or Microsoft Clarity), you can see how users behave—what they click, how far they scroll, and where they drop off. Based on this info, you’ll be able to adjust your headlines, layouts, and calls to action to improve results. Plus, connect your website to Google Search Console to start indexing.
Minimum Plugins
Here’s the basic set of plugins you need to start your website running smoothly.
- SEO: Yoast / Rank Math
- Caching: WP Rocket / LiteSpeed / W3 Total Cache
- Image optimization: ShortPixel / Imagify / Optimole
- Table of Contents: Easy TOC / LuckyWP TOC
- Breadcrumbs: Theme built-in / Breadcrumb NavXT / SEO plugin
- Backups: UpdraftPlus
- Security (optional): Wordfence / iThemes
- Web Stories (optional): Google Web Stories
- Schema (if not included in SEO plugin): Schema & Structured Data
Google Discover Optimization
If you want your content to appear on Discover, here are some tips to get featured faster.
- Use big, high-quality images: At least 1200px wide so your content looks great on mobile and desktop.
- Write clear, honest titles: Avoid clickbait; make sure the title matches the content.
- Focus on relevant topics: Cover news, trends, or evergreen content with a clear angle that interests your audience.
- Show trust signals: Include the author’s name, publish date, and your brand so readers know it’s reliable.
- Post regularly and refresh content: Update evergreen articles to keep them relevant.
- Create Web Stories related to your content to increase visibility in Discover feeds.

Creating Content & Visuals
The groundwork for your website is done, and now it’s time to dive into content creation. You can either write articles yourself or outsource the process to AI tools. The key benefit of writing on your own is that you’ll have unique, original content with no plagiarism risks and minimal chance of being flagged as AI-generated—which helps with both Google ranking and Discover.
That said, it’s also the most time-consuming, difficult, and costly option. For faster content production, AI and other content tools can be a great solution—especially now that there are so many to choose from.
The most popular and effective tools for creating text content include:
ChatGPT—great for writing articles and translations, especially in its latest 5.0 version.
Jasper.ai—a powerful marketing tool that generates high-quality text and adapts it for social media and email campaigns. Definitely worth trying.
QuillBot—not just a rewriting tool; it also checks grammar, detects plagiarism, and can “humanize” AI-generated texts.
Perplexity—excellent for research; provides detailed analyses and sources you can use in your articles.
Of course, there are many other AI writing tools out there, so the key is to find the one that fits your workflow best. To get the most out of them, we recommend breaking prompt creation into three steps:
1. Collect information, trends, and structure for your future article.
2. Ask the tool to write the article based on your findings, including details about your target audience and the place where your article will be published.
3. Localize or adapt the text if needed for different regions or audiences.
Don’t forget that users often shy away from long walls of text. That’s why it’s important to add visuals once your article is ready. You can use your own photos and graphics, or turn to stock libraries and AI tools, as they are the fastest way to enrich and diversify content without running into legal or copyright issues.
Some great options include AI tools like Gemini, Reve, or Kira.Art (excellent for photo editing), as well as stock platforms like Freepik and Shutterstock.
Your Website Is Ready for the Next Step
Congrats, your WordPress website is all set and ready for traffic! Now comes the exciting part: bringing in visitors. You can do this through social media, all kinds of paid ads, SEO-optimize your site to climb higher in search rankings, or even by getting featured on Google Discover. The best approach depends on your goals, budget, and strategy.
In our next article, we’ll dive into exactly that: how to drive consistent traffic to your site and how to monetize it effectively, so every visitor turns into real profit. Stay tuned!